Appearance
Managing connections
Connections let you publish your Inbind content to external destinations. You can connect your collections to Webflow, Webstudio, or any of the supported static site frameworks like Astro, Next.js, Nuxt, and SvelteKit.
How Connections Work
A Connection represents a link between Inbind and an external publishing destination. Each connection stores the credentials and configuration needed to publish content to that destination.
Once a connection is created, you can link one or more collections to it. For each linked collection, you choose which fields to publish. When you publish content in Inbind, it is automatically delivered to the connected destination.
Connection Types
Inbind supports two categories of connections:
Webflow
Connects directly to the Webflow CMS API. Content is synced as Webflow CMS collection items. Changes flow in both directions: edits in Inbind are pushed to Webflow, and edits in Webflow are synced back.
See How to Connect to Webflow for setup instructions.
Storage-Based Connections
For Webstudio and static site frameworks (Astro, Next.js, Nuxt, SvelteKit), Inbind publishes your content as JSON files to S3-compatible object storage. Your website or application then fetches these JSON files to display the content.
You need to provide your own S3-compatible storage credentials (Amazon S3, Cloudflare R2, etc.) when creating a storage-based connection.
Learn more about supported object storage providers and configuration guides: Object Storages
INFO
While Inbind provides specific integration options for popular frameworks, the JSON files work with any tool or framework that can fetch data from S3/R2 storage. The framework options in Inbind simply provide tailored setup instructions and code examples. The underlying JSON format is the same for all.
See the specific guides for setup instructions:
- How to Connect to Webstudio
- How to Connect to Astro Website
- How to Connect to Next.js Website
- How to Connect to Nuxt Website
- How to Connect to SvelteKit Website
Using the Connections Page
To access Connections Page, click Plug (🔌) button in the top-right corner of the app.
The Connections page in Inbind is organized into three columns:
- Connections list (left): shows all your connections. Click the + button to add a new connection.
- Collections list (middle): shows the collections linked to the selected connection. Click + Connect Collection to link a new collection.
- Configuration panel (right): shows the settings and field mapping for the selected connection or collection.
Adding a Connection
- Click the + button in the connections list
- Select a destination
- Enter the required credentials for your chosen destination
- Click Create Connection
Connecting a Collection
- Select a connection from the connections list
- Click + Connect Collection
- Choose a collection from the list
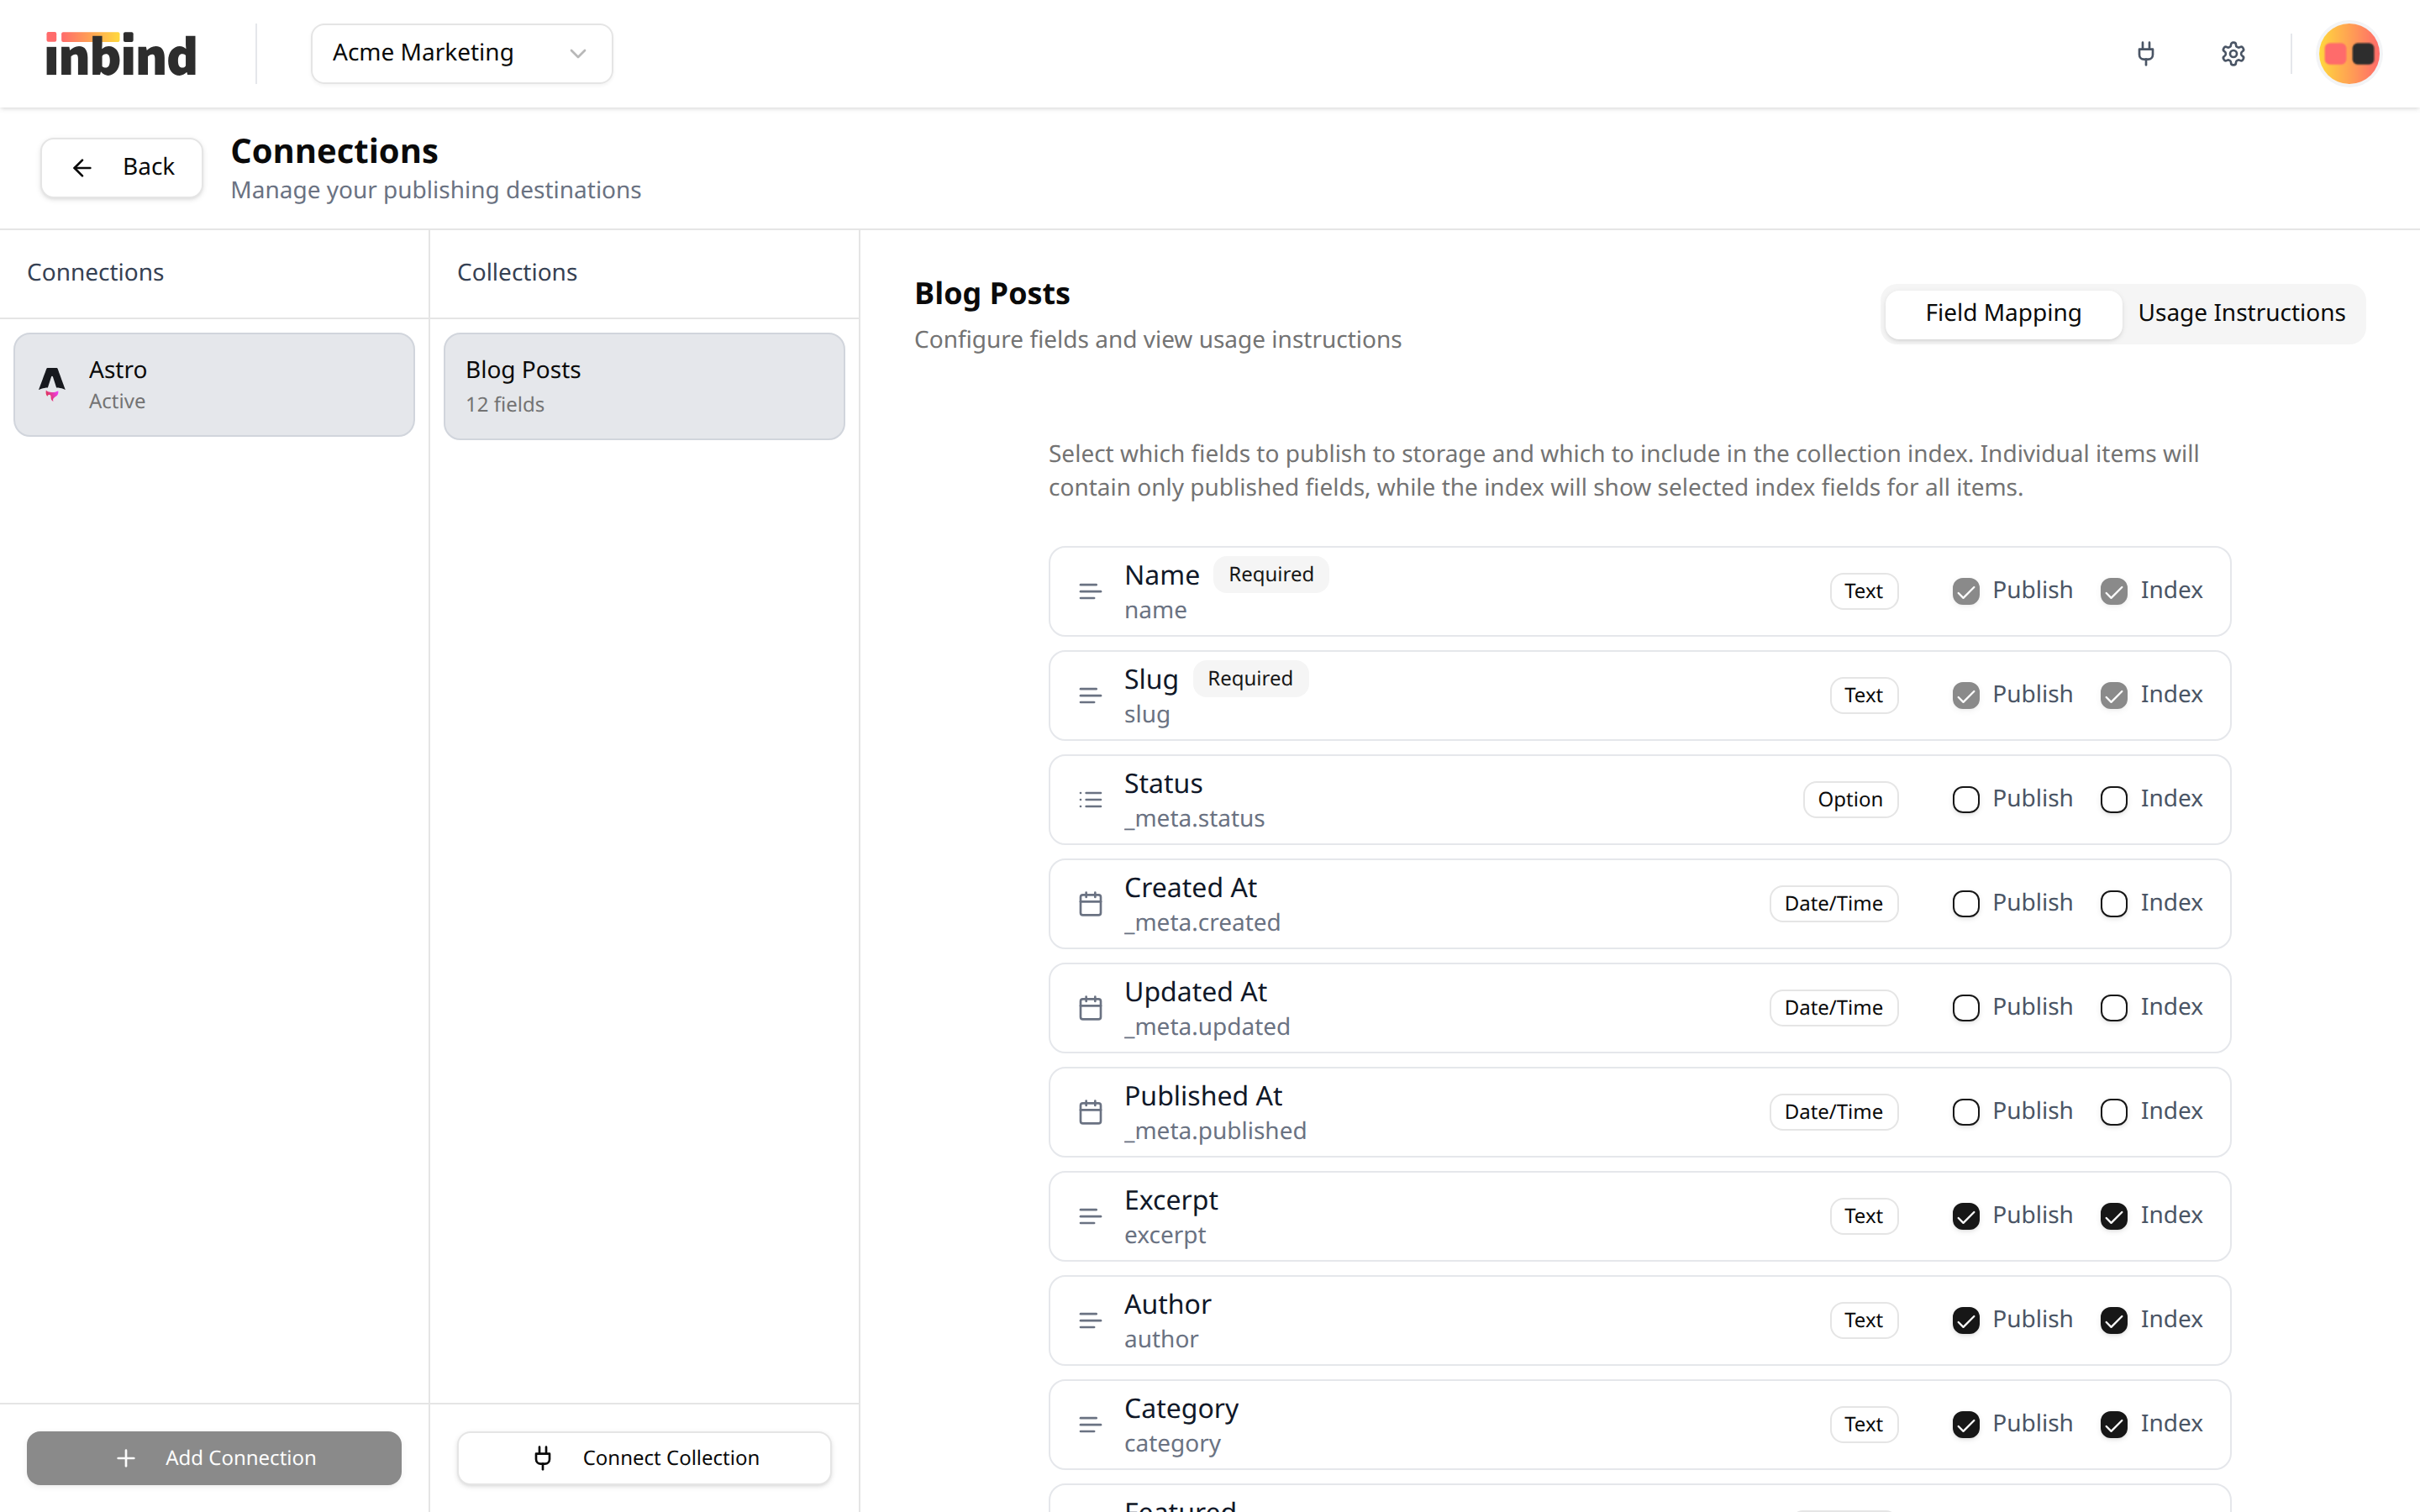
- Select which fields to publish
- For storage-based connections, you can also select which fields to include in the collection index (used for listing pages)
- Click Connect Collection
Field Selection
When connecting a collection, you choose which fields to publish:
- Published fields: included in the full item data (used on detail pages)
- Index fields (storage-based only): included in the collection index file (used on listing pages to keep the index lightweight)
The name and slug fields are always required and cannot be deselected. 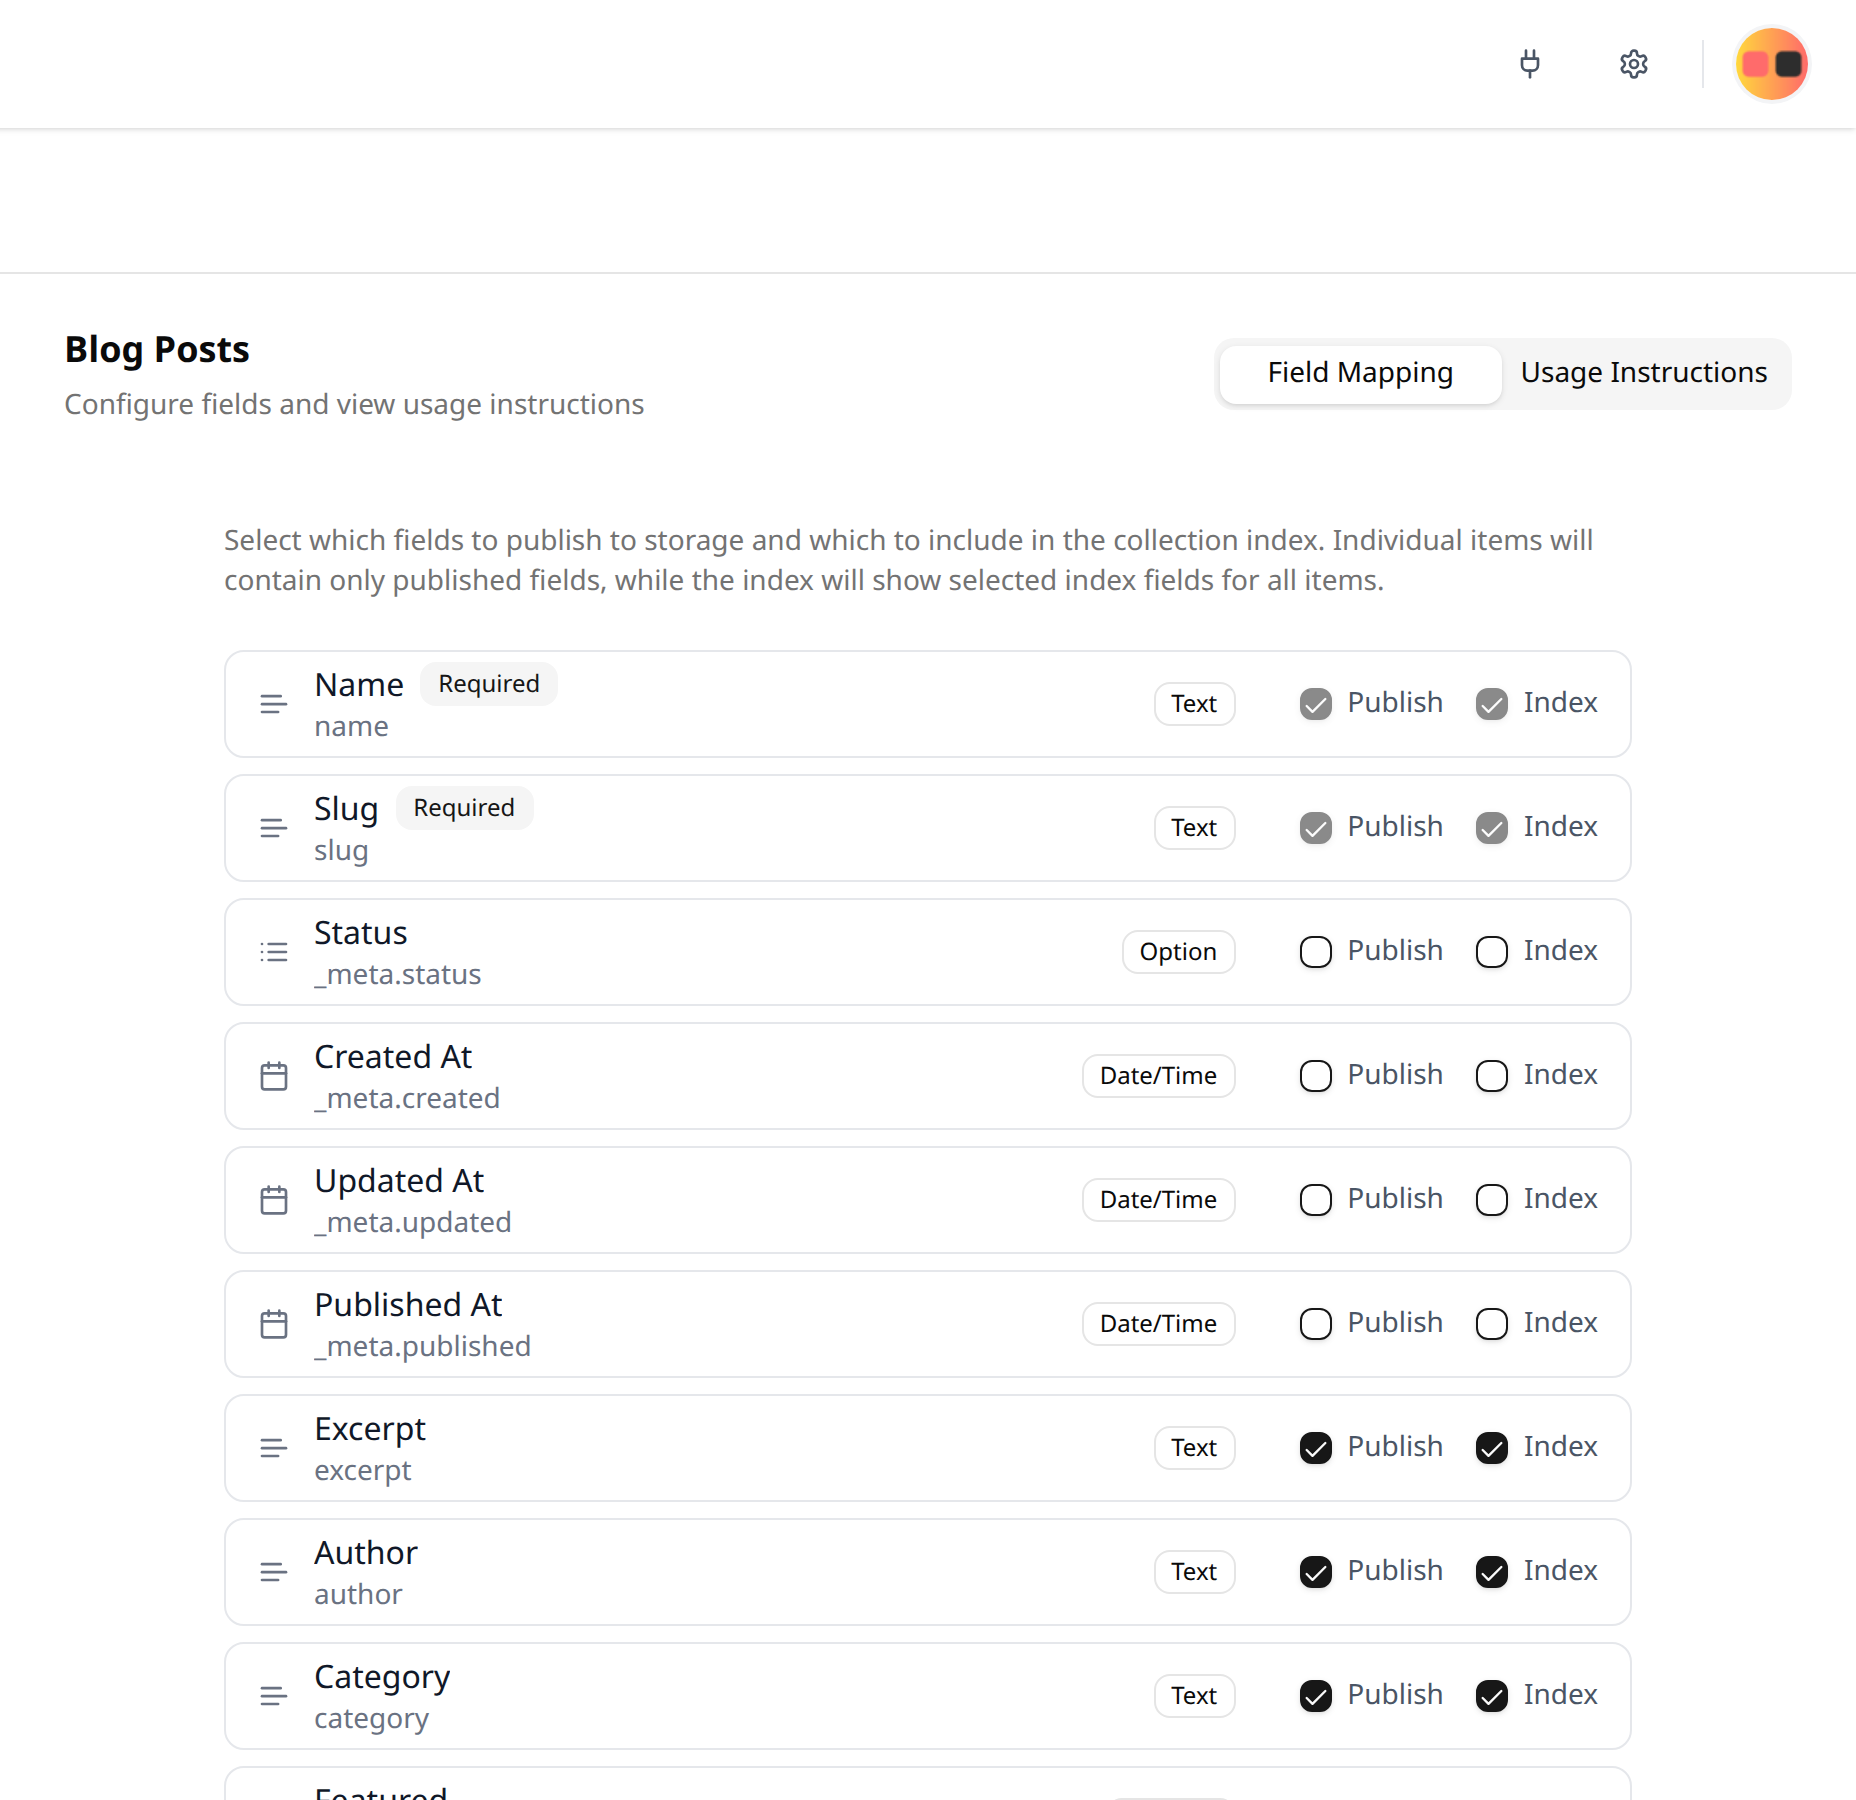
Editing Connection Settings
- On an existing connection, click a cogwheel ⚙️ button.
- Edit connection settings. The settings available for editing depend on the connection type.
- Press Save Changes
Viewing Usage Instructions
After connecting a collection to a storage-based destination, open the Usage Instructions tab in the configuration panel. This shows you the exact URLs where your content is published and framework-specific code examples for fetching the data. 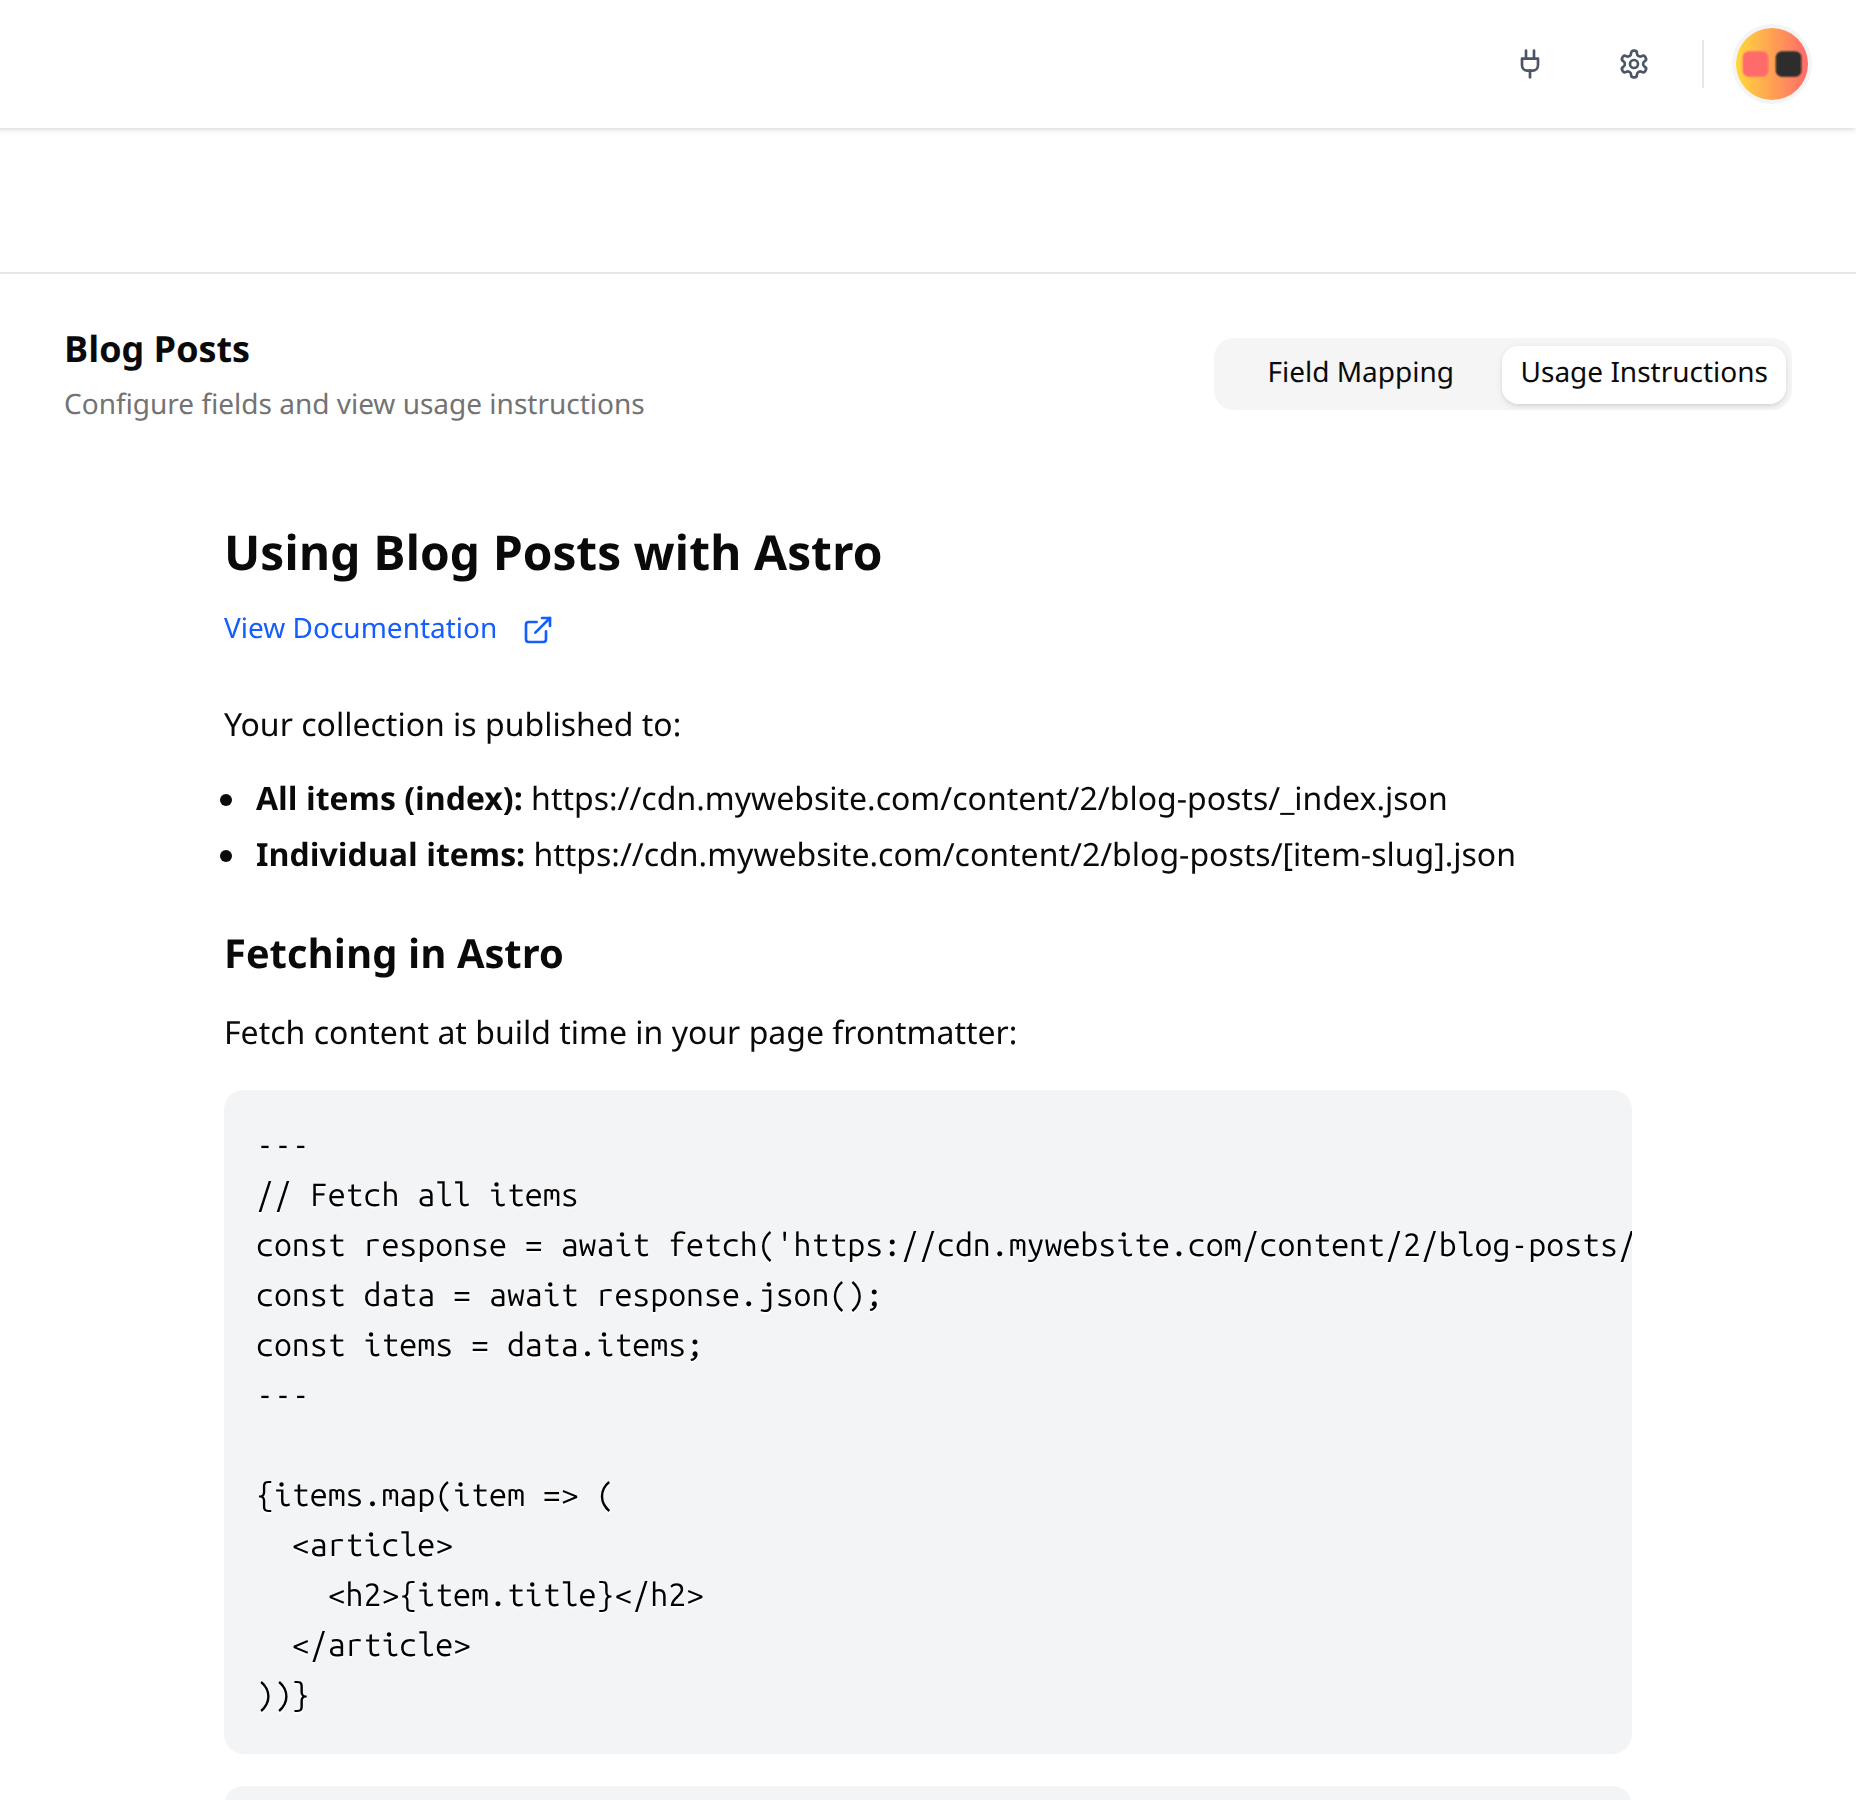
Need help?
Email us at [email protected] if you have any questions.